

How to Deflate Your Rhythmic Gymnastics Ball
Balls for rhythmic gymnastics are one of the special apparatuses in this discipline and are used both for training and in competitions. Sometimes it is necessary to adjust their pressure, either because they have lost air over time and use, or because we have over-inflated them to achieve a perfectly round shape. In this blog, we will focus specifically on how to deflate your rhythmic gymnastics ball quickly and easily.
1. Preparation: What You Need
Ball Inflator: We recommend always keeping a ball inflator on hand for rhythmic gymnastics, as it is an essential accessory for any gymnast. It is a compact accessory that you can pack in your bag for competitions, since you never know when you might need it.

Locate the ball's valve: This step may seem unnecessary, but it is really essential. It is vital to locate the inflation valve before you begin.
2. Simple Guide to Deflating the Ball
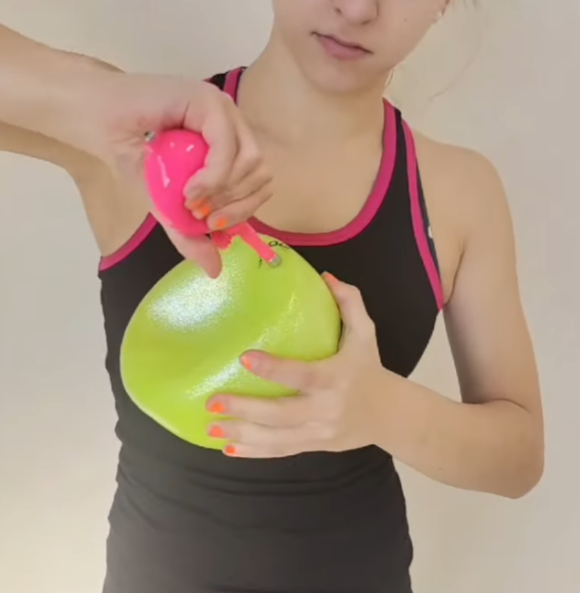
- Insert the needle into the valve: Do this step gently and without forcing the needle. We recommend holding the needle firmly to make sure no air escapes.
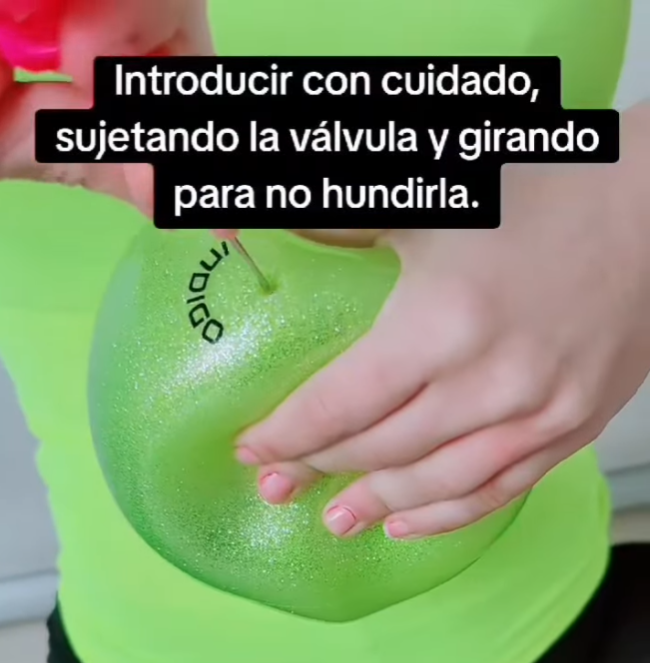
- Open the dial to let the air out: Slowly open the valve to allow air to escape from the ball. 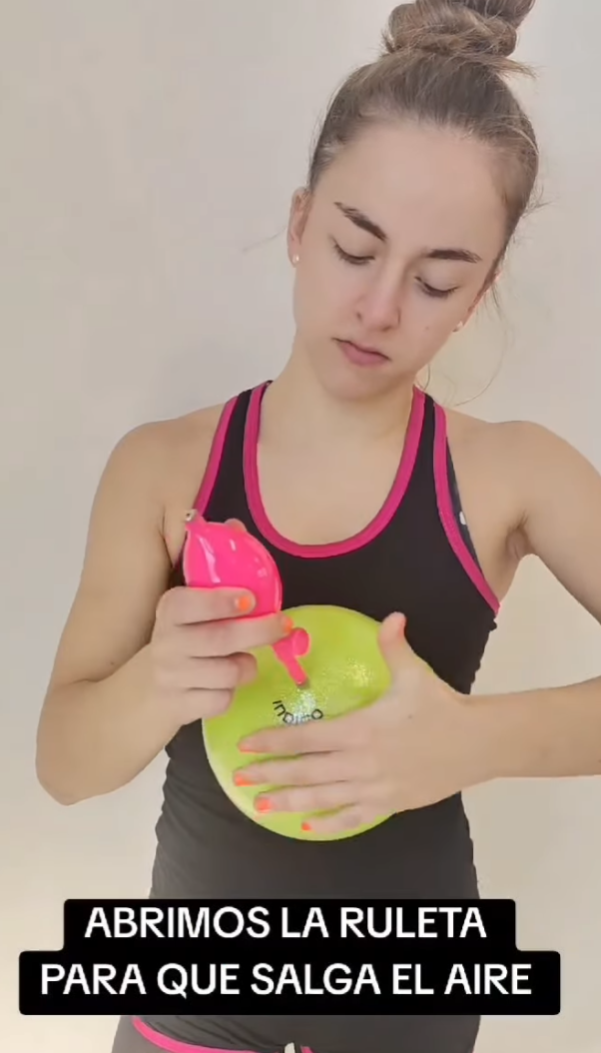
- Apply pressure to the ball to speed up the process, doing so carefully so you can measure well until it feels just right for you.
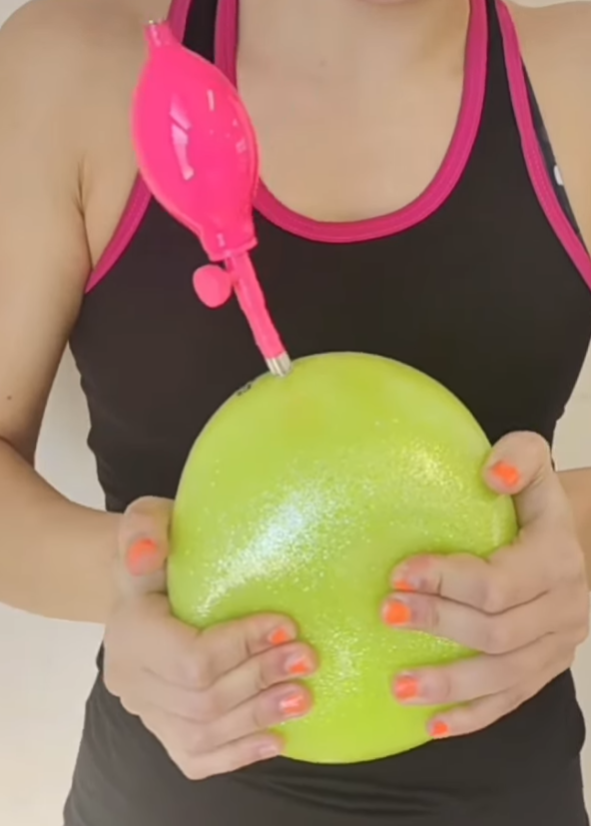
- Check the ball's pressure
- Carefully remove the needle
- Test the ball, this way you can make sure it has the most suitable pressure for you, so you can perform your exercises comfortably.
3. How to Inflate a Rhythmic Gymnastics Ball
If, when testing it, you realise you have deflated it too much, don't worry, you can always fix it. The most important thing is that the ball is in perfect condition for each gymnast.
Fully close the inflator's dial: This will allow you to push air into the ball instead of letting air out.
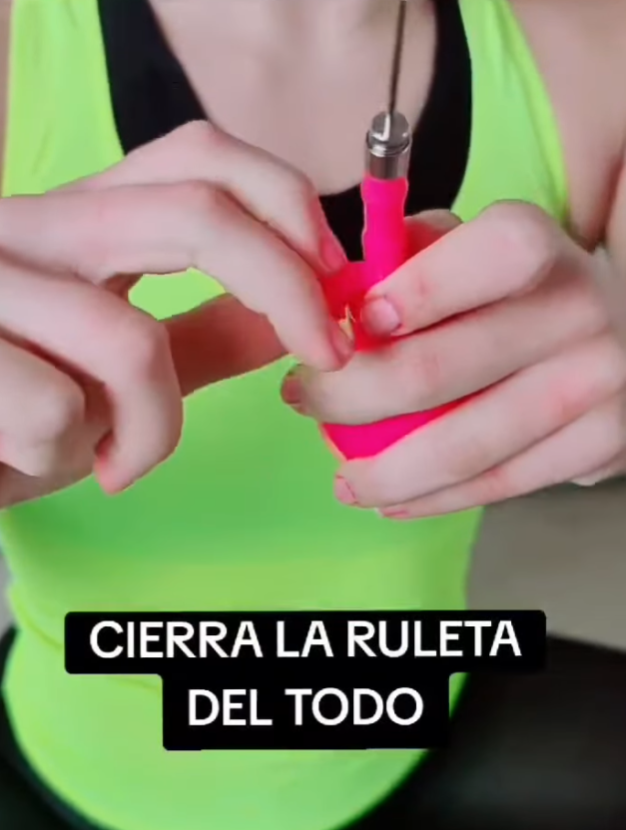
Start inflating the ball: Follow the same process but now with the aim of adding air to the ball until you reach the desired pressure.
Conclusion
Deflating your rhythmic gymnastics ball is a task that can make a big difference to the quality of your training.
Whether you want to adjust it after inflating it to the maximum so it holds its shape, or simply because you think a little less air will improve your grip, here are some steps that we hope will help and make the process easier.
Finally, we are sharing this tutorial in video form, where you can see the process in detail, which you can already watch on our Instagram.

